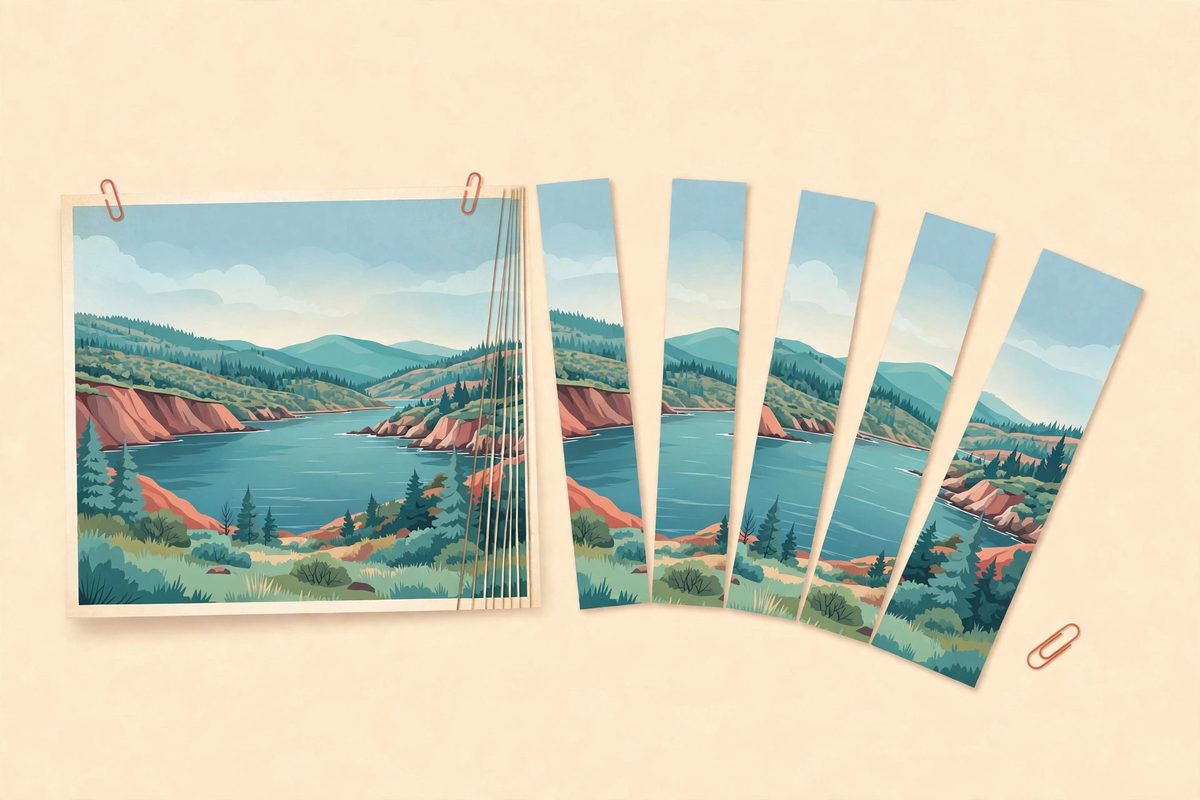
A seamless Instagram carousel — one wide image flowing across several slides as you swipe — looks effortless when it works. Making one by hand is not: you have to crop a wide image into exact 4:5 panels, keep every panel perfectly aligned, export them in order, and repeat the whole job if anything shifts by a pixel.
Pixora's Instagram Carousel Slicer promises to do all of that in the browser, for free, with no sign-in. Rather than take the feature list at face value, we built test images designed to catch misalignment, wrong dimensions, and silent cropping — then measured exactly what the tool produced. Most of what we found is genuinely good. One finding, about portrait images, is a trap worth knowing about before you use it.
What the slicer offers
The tool has three modes:
- Carousel (4:5) — cuts a wide image into connected slides of 1080×1350, the largest portrait format Instagram carousels use.
- 3×3 Grid — cuts a square image into nine tiles for profile-grid layouts.
- Horizontal strip — one row of three square posts. (This mode is listed in the panel; we did not test it for this article.)
In carousel mode you pick the slide count yourself. One honesty note here: the tool's own help text says you can choose "from 2 up to 10 slides," but in our test the panel only offered buttons for 2 to 6 slides. That may change, but plan around what the panel actually shows you.
There are no format or quality settings at all — output is always JPEG — and results come with numbered filenames (for example, photo_carousel_slide_1_of_3.jpg) plus a single ZIP download, so the posting order survives the trip to your phone. Pixora states that processing happens entirely in your browser and images are never uploaded to a server; that is the tool's own claim, presented on its page, and we did not independently network-test it.
Test 1: Are the seamless slides really seamless?
We generated a 3240×1350 panorama — exactly three 1080×1350 slides wide — and drew features that deliberately cross the cut lines: a horizontal rule, a diagonal, and circles straddling both seams. If the slicer dropped or duplicated even a few columns at a cut, those shapes would visibly break.
The tool returned three JPEGs, each exactly 1080×1350. We then stitched the downloaded slides back together in order and compared the result with the original panorama pixel by pixel: the reassembly matched at 47.9 dB PSNR, which means the geometry is pixel-perfect — the only difference from the original is ordinary JPEG re-encoding. The seam-crossing line and circles continue across slides without a step. For the core promise of the tool, this is a clean pass: design one wide canvas, and the cuts land exactly where they should.
Test 2: The 3×3 grid is square — whatever the page says
For grid mode we used a 1620×1620 image divided into nine numbered colour cells. The tool returned nine tiles named square-grid_grid_tile_1.jpg through _9.jpg, in correct row-major order — reassembled in filename order, they reproduce the original (52.6 dB PSNR after scaling back).
One labelling quirk to be aware of: the results page displays the grid tiles as "1080×1350," but the actual files are 1080×1080 — properly square, as grid tiles should be. Each tile is also upscaled 2× from the source cell (our cells were 540×540), so feed the grid the largest square you have if you want the cleanest tiles. Trust the files, not the label.
Test 3: The portrait trap
Finally, the edge case: what happens if you give the carousel mode a tall portrait photo (1080×1920, a standard 9:16 phone shot)? The tool accepts it without any warning — and quietly does something you probably do not want.
Instead of slicing the portrait into vertical panels, it centre-crops a single horizontal band out of the image — a strip with the full 2.4:1 aspect of a three-slide carousel — and stretches that band across the three slides. In our test image, we could measure the crop precisely thanks to a centred test rectangle: the slicer kept a band from roughly 38% to 62% of the image height and discarded the top and bottom 76% of the picture entirely, upscaling what remained by 3×. No message tells you this happened; the previews simply show three full-looking slides.
The fix is simple: the slicer is built for wide images, so prepare wide images for it. If your source is a portrait photo, first place it on a wide canvas yourself — at 1080×1350 per slide (2160×1350 for two slides, 3240×1350 for three, and so on) — choosing your own crop, padding, or background, and only then run it through the slicer. Our image compression walkthrough can help keep the exported slides light afterwards.
How to use it, step by step
- Prepare a wide image at 1080×1350 per slide you want (or a large square for grid mode).
- Open the Instagram Carousel Slicer and drop the image in.
- Choose the mode — Carousel, 3×3 Grid, or Horizontal strip — and, for carousels, the slide count.
- Check the guide-line preview to confirm the cuts fall where you expect.
- Run the slicer, then download the ZIP (or individual slides) and post them in the numbered order.
Who this is for
If you post swipe-through tutorials, before-and-after reveals, product line-ups, or panoramic shots, this removes the fiddliest part of the job: the cuts are exact, the exports are ordered, and there is nothing to install. Just respect its one real limitation — it thinks in wide images. Give it a panorama and it is precise; give it a portrait and it will crop first and never mention it.
Sources and test notes
- Pixora Instagram Carousel Slicer, tool page and in-page documentation: https://pixora.3bqriino.com/instagram-carousel-slicer/ (checked 2 November 2026).
- All measurements are our own, made on purpose-built test images (a 3240×1350 seam-crossing panorama, a 1620×1620 nine-cell square, and a 1080×1920 portrait with a centred reference rectangle) on 2 November 2026. Slide counts above 6, and the horizontal strip mode, were not tested. Pixora's in-browser processing claim is the vendor's own statement, not independently verified.